The Homey Tuya app can only link to 1 Tuya-based app at a time, however you might have some devices in other Tuya-based apps. This is a full guide on how to migrate between Tuya-based apps. There will be multiple ways to do this:
- Delete your Home in the Tuya-based app (easiest)
- Delete each device individually
- Manual reset
Option 1: Delete your Home in the Tuya-based app
- Make sure all of your devices are reachable in the app. If they aren’t, they won’t be reset. Make sure all devices are online, even the ones you don’t use, like a device that you only use in specific times like heaters or fans. This prevents surprise resets when you power them back on, as they will automatically be reset as soon as they connect to WiFi.
- Make sure to cancel your subscriptions in the other Tuya-based app, such as the Energy Saving feature, cloud storage for cameras, SMS/call service, AI service, etc.
- Clips stored on the camera cloud storage subscription will be lost when you delete your home, make sure to download them first.
- Your tap-to-run scenes and automations will be lost, and you’ll have to manually re-create those in the other Tuya app.
- Your rooms will be lost, so you’ll have to re-organize your devices in the other Tuya-based app.
- Integrations (like Amazon Alexa and Google Home) will be disconnected, meaning that you’ll need to add the integration from the other Tuya-based app and possibly also organize your devices in rooms
- Your settings (like custom name or icon for the device) will be restored when you connect it to the other Tuya-based based app.
With this in mind, let’s get started with deleting your Home:
1. Open the Tuya-based app where you want to remove your devices from.
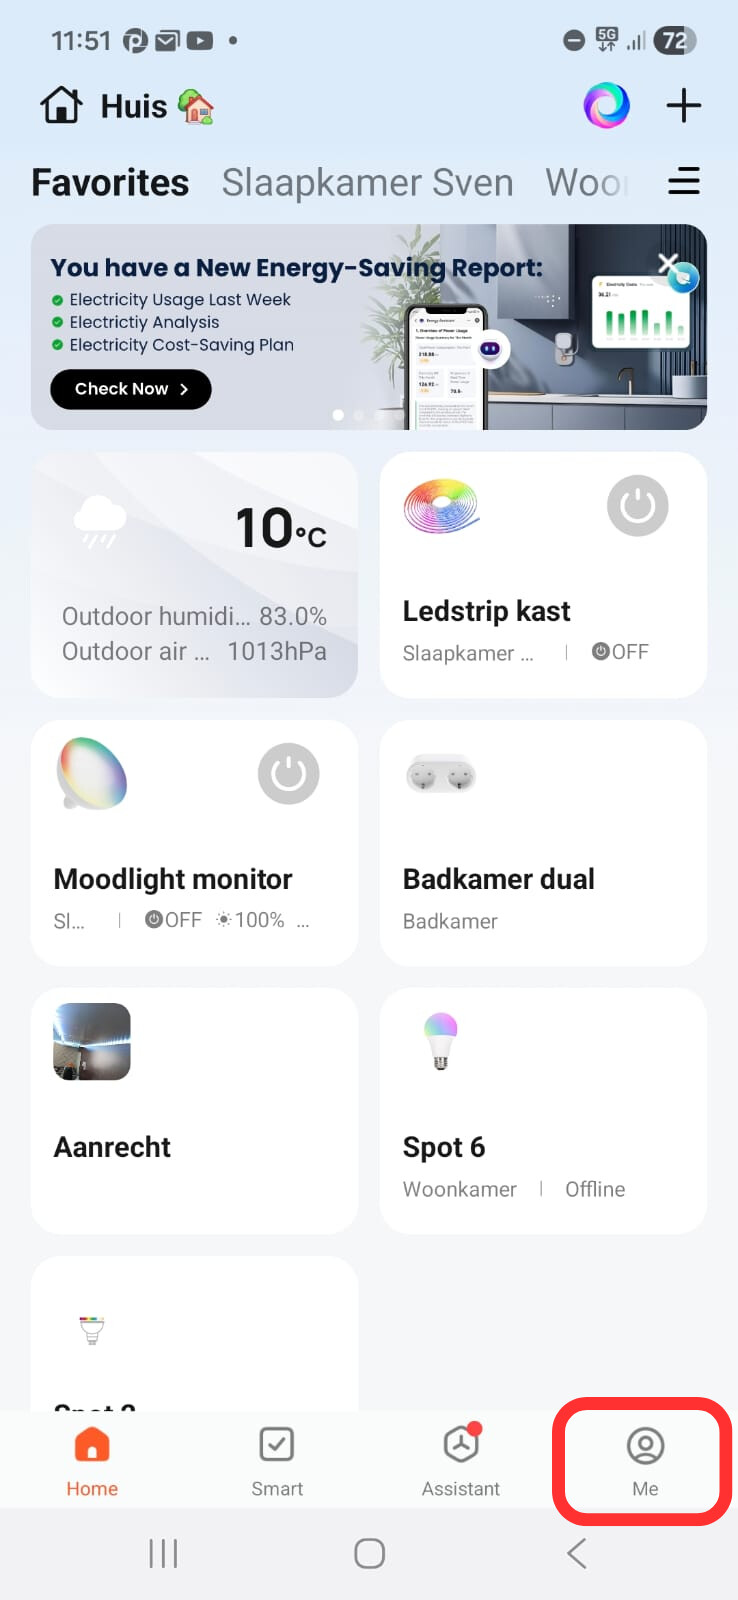
- Go to the “Me“ tab.
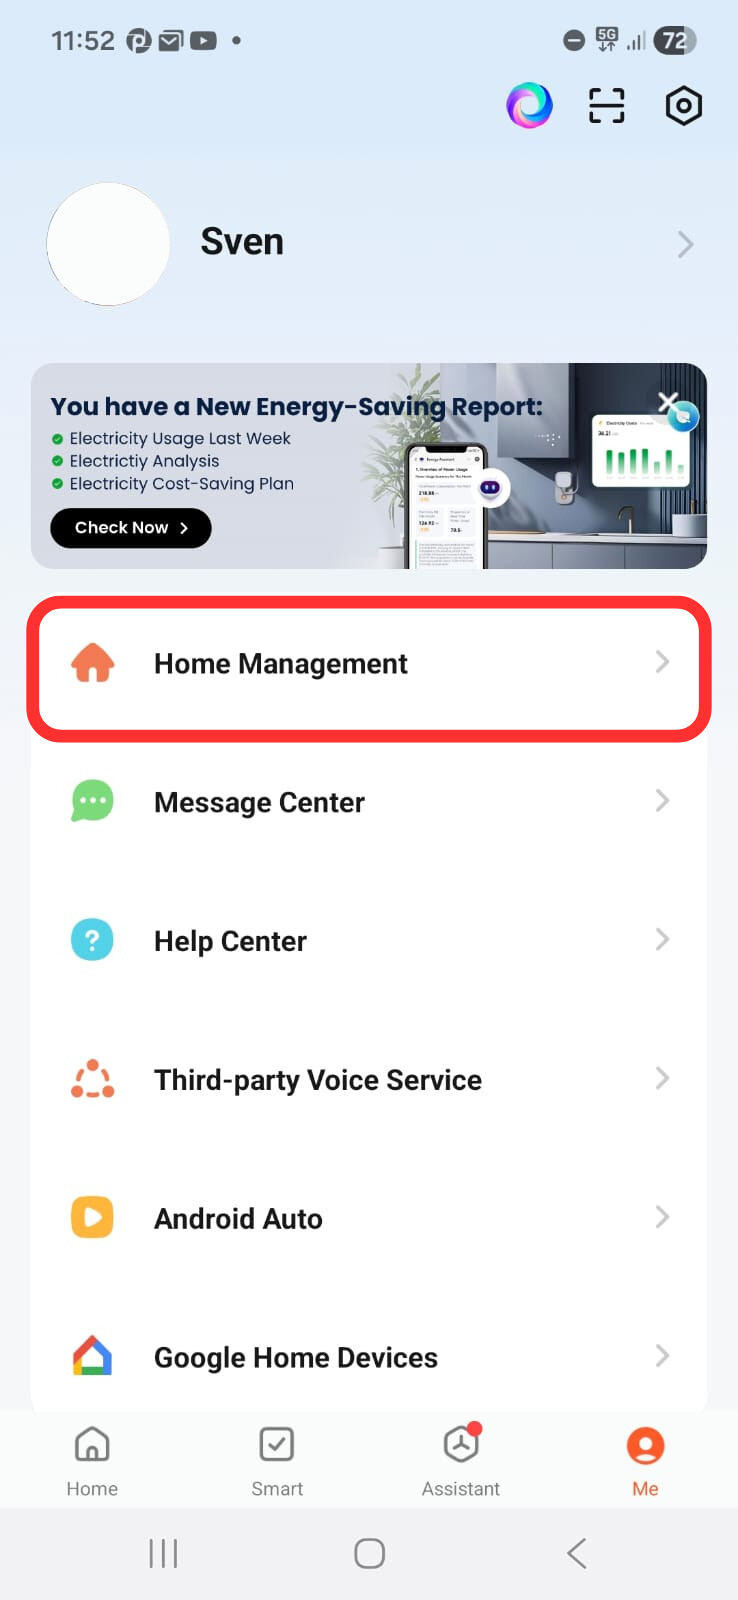
- Click on “Home Management“
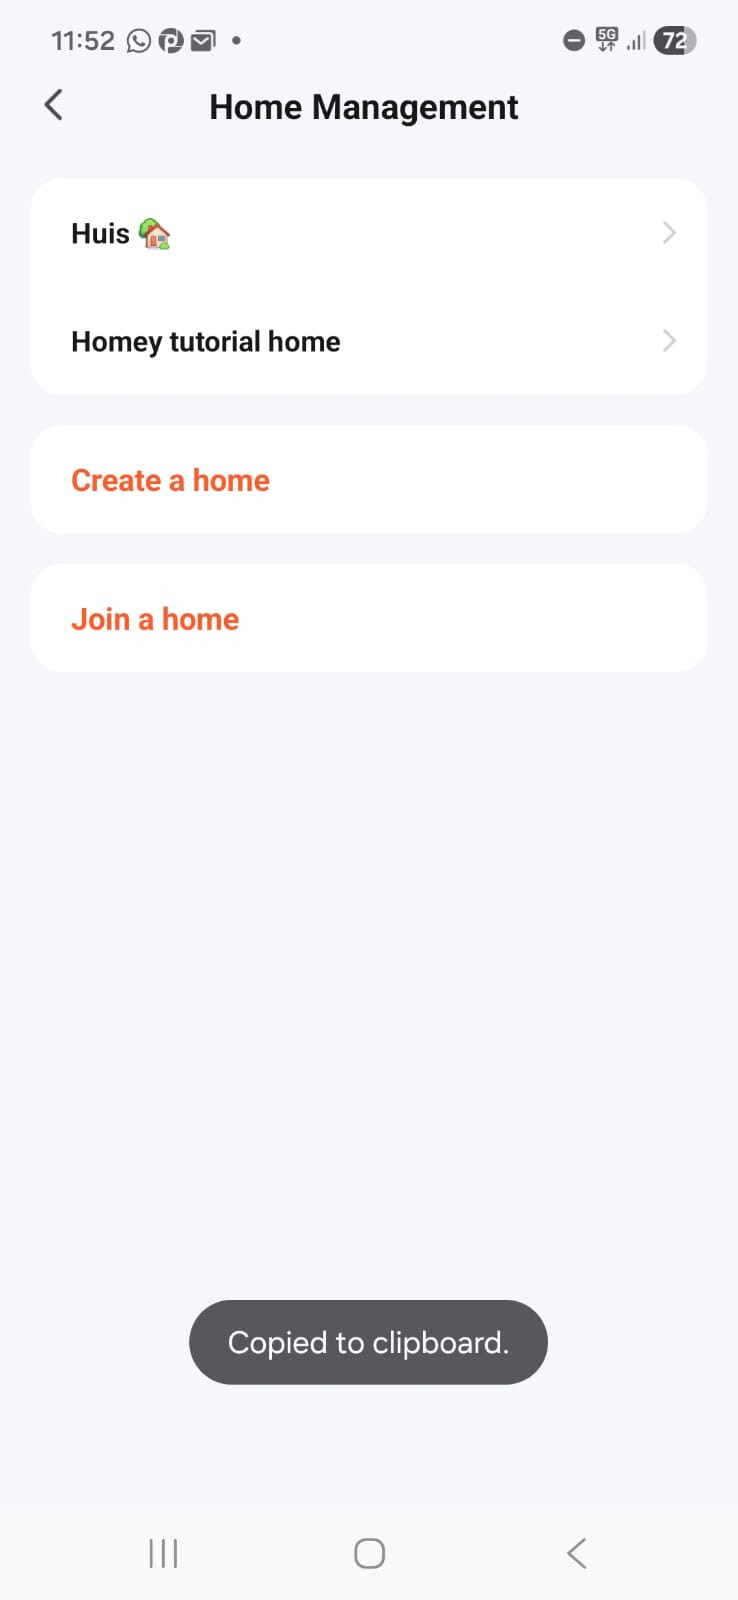
- Click on the Home you wish to delete
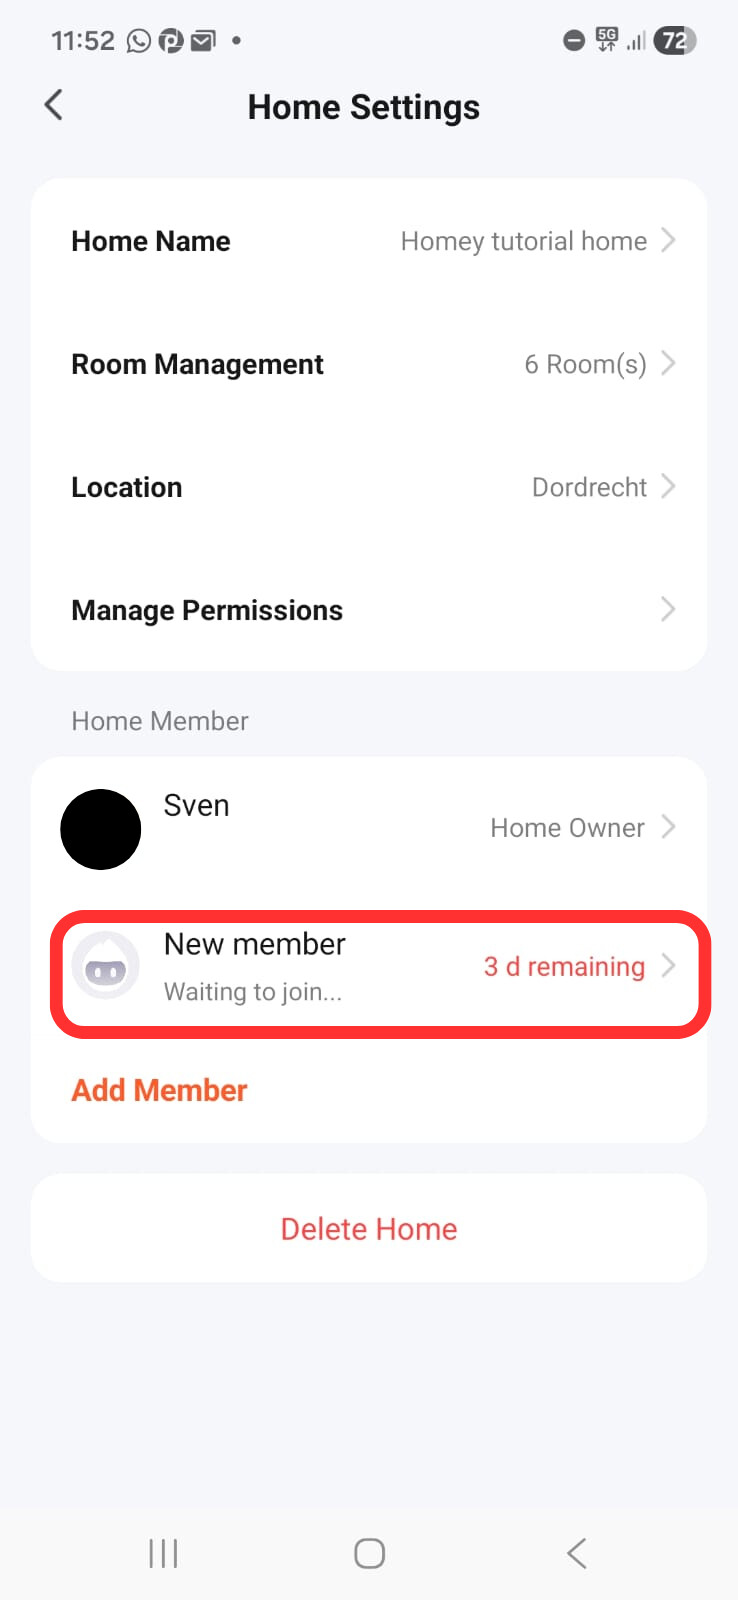

- Delete family members from the Home if you share your home with family member accounts

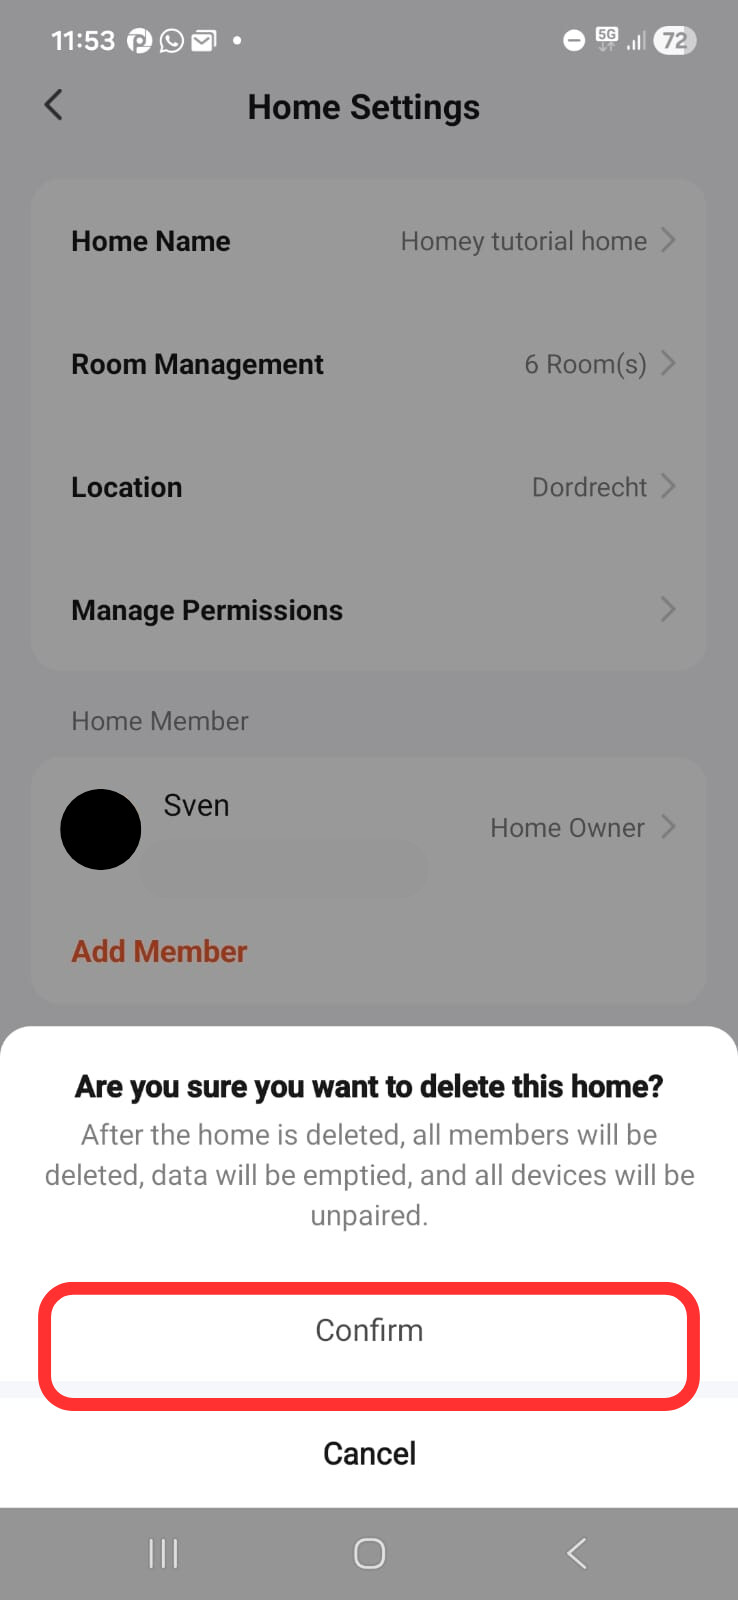
- You can now delete the Home from your account.
After deleting:
1. All devices that were online when the home is deleted will now go to the pairing mode.
2. If you have any battery-powered devices, you’ll need to wake them up by triggering something on the device. When they wake up and connect to the network, they will automatically receive the disconnect message from the Tuya server, after which they will start the pairing procedure. So make sure that you wake up all battery powered devices, or else you can unknowingly trigger a device and leave it in pairing mode the whole time (which drains the battery very quickly, so try to pair as soon as you wake them up)
3. If you had any offline devices in your home, those will start the pairing process as soon as they get connected to the server.
Option 2: Delete each device manually
If you don’t want to delete your home or if you only want to transfer speciifc devices, you can use this guide
There are actually 2 types of Tuya-based apps, so I will explain it for both.
Dashboard-based app (newer apps)
1. Open the Tuya-based app and click on the icon in the top right corner (where you see your room names). Make sure not to use the icons on the Home page, as that doesn’t contain all of your devices (it’s just a dashboard with widgets)
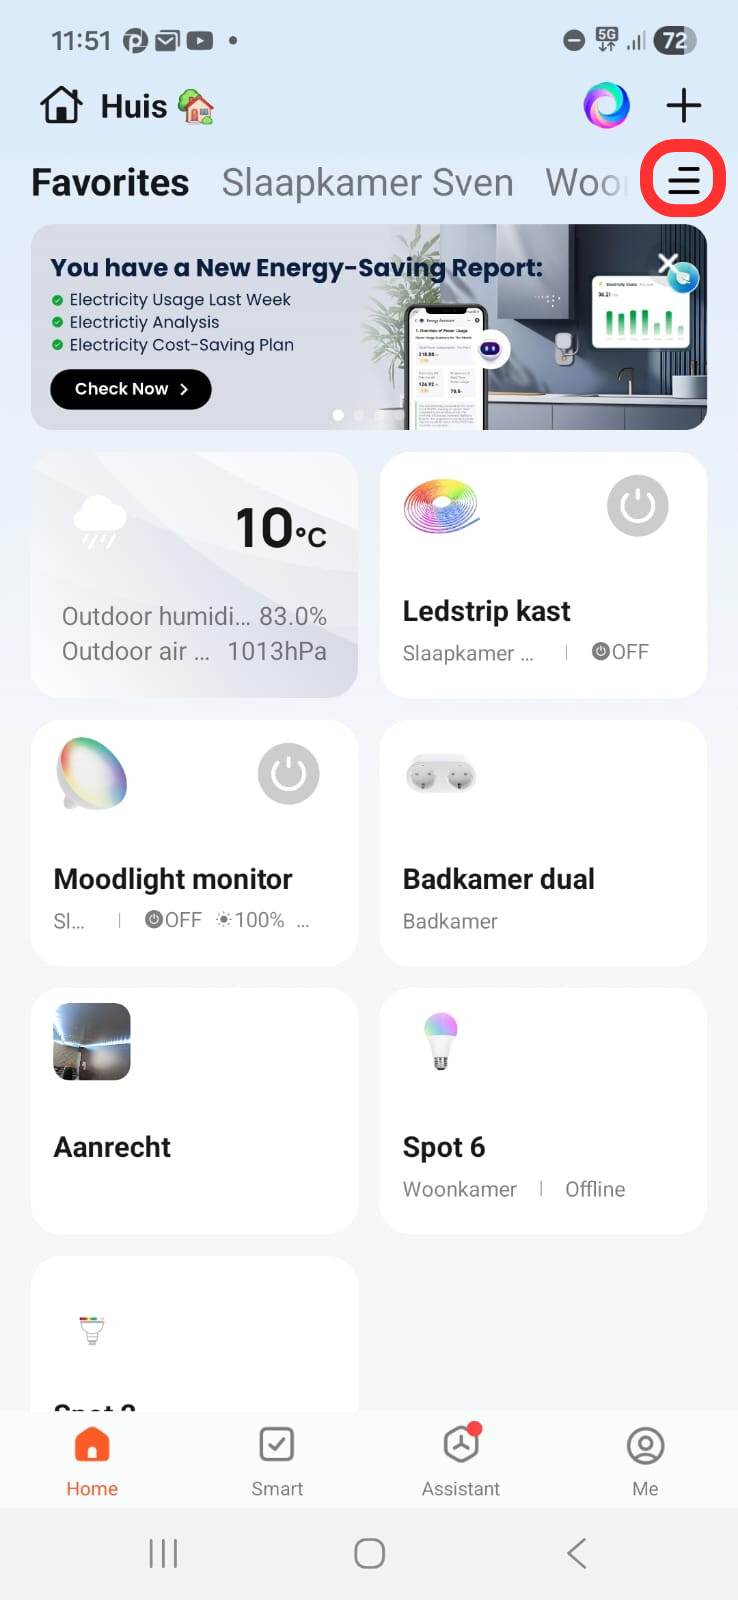
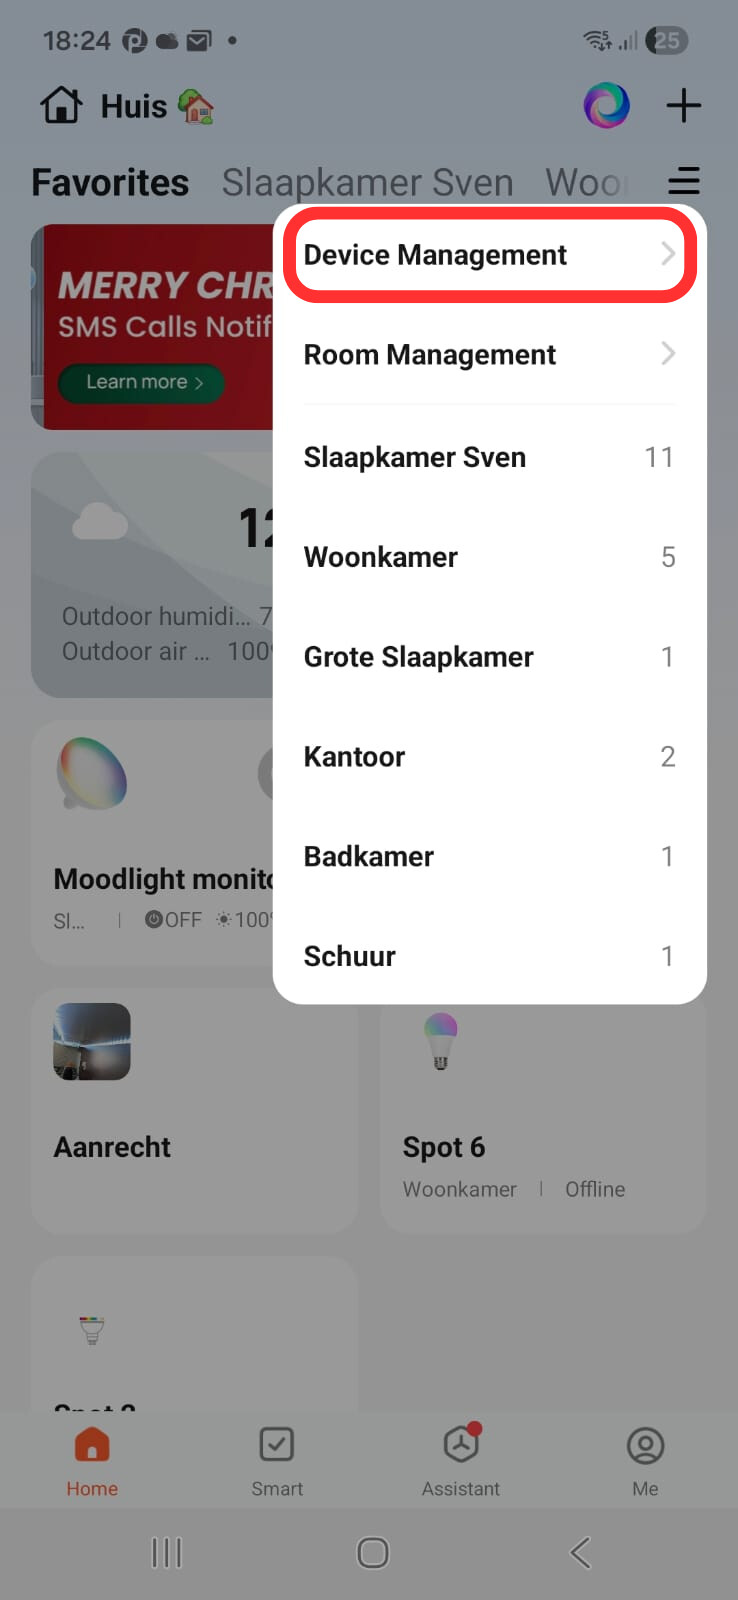
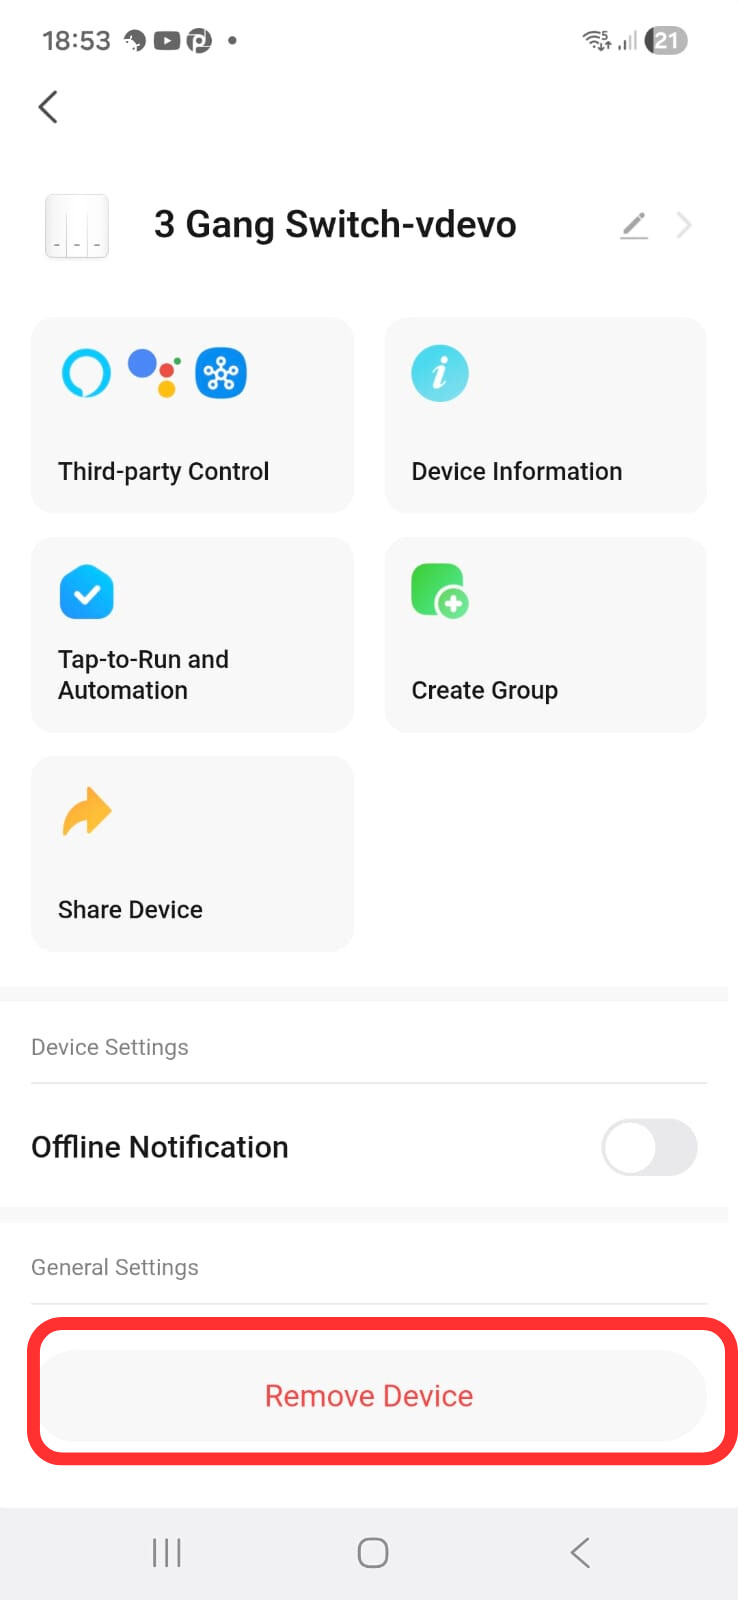
- Here, you can see all devices. Click on the device you want to remove

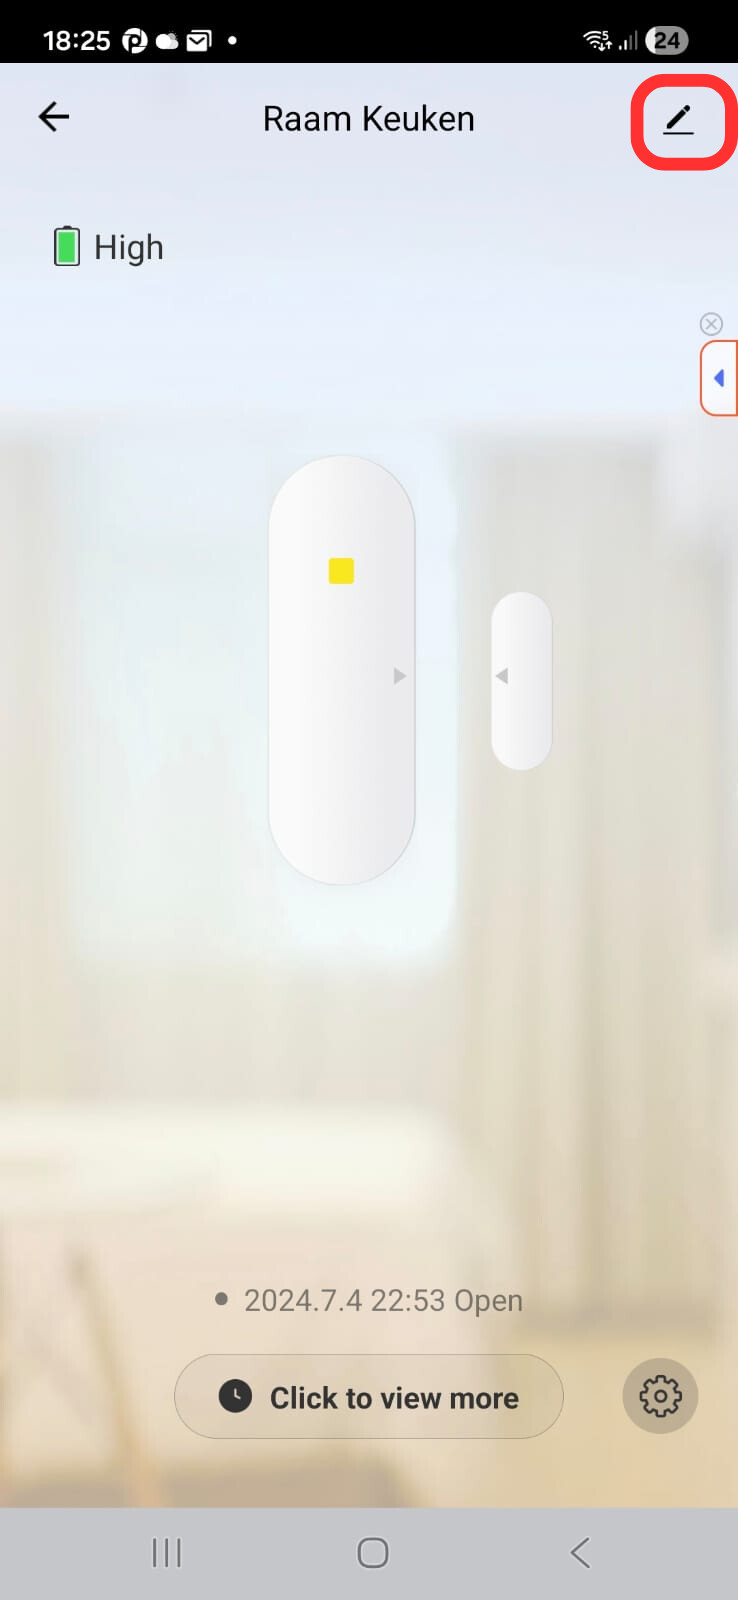
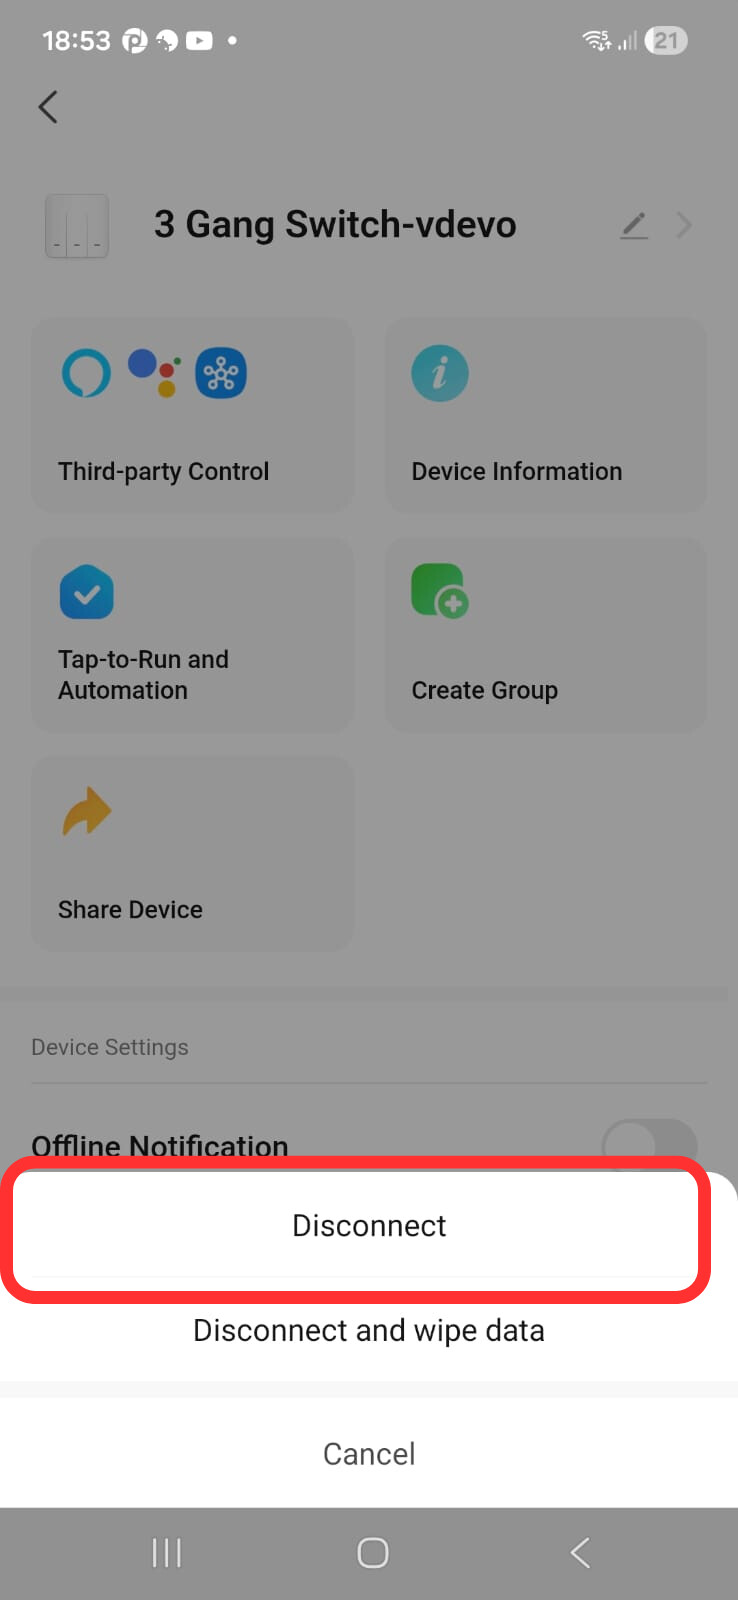
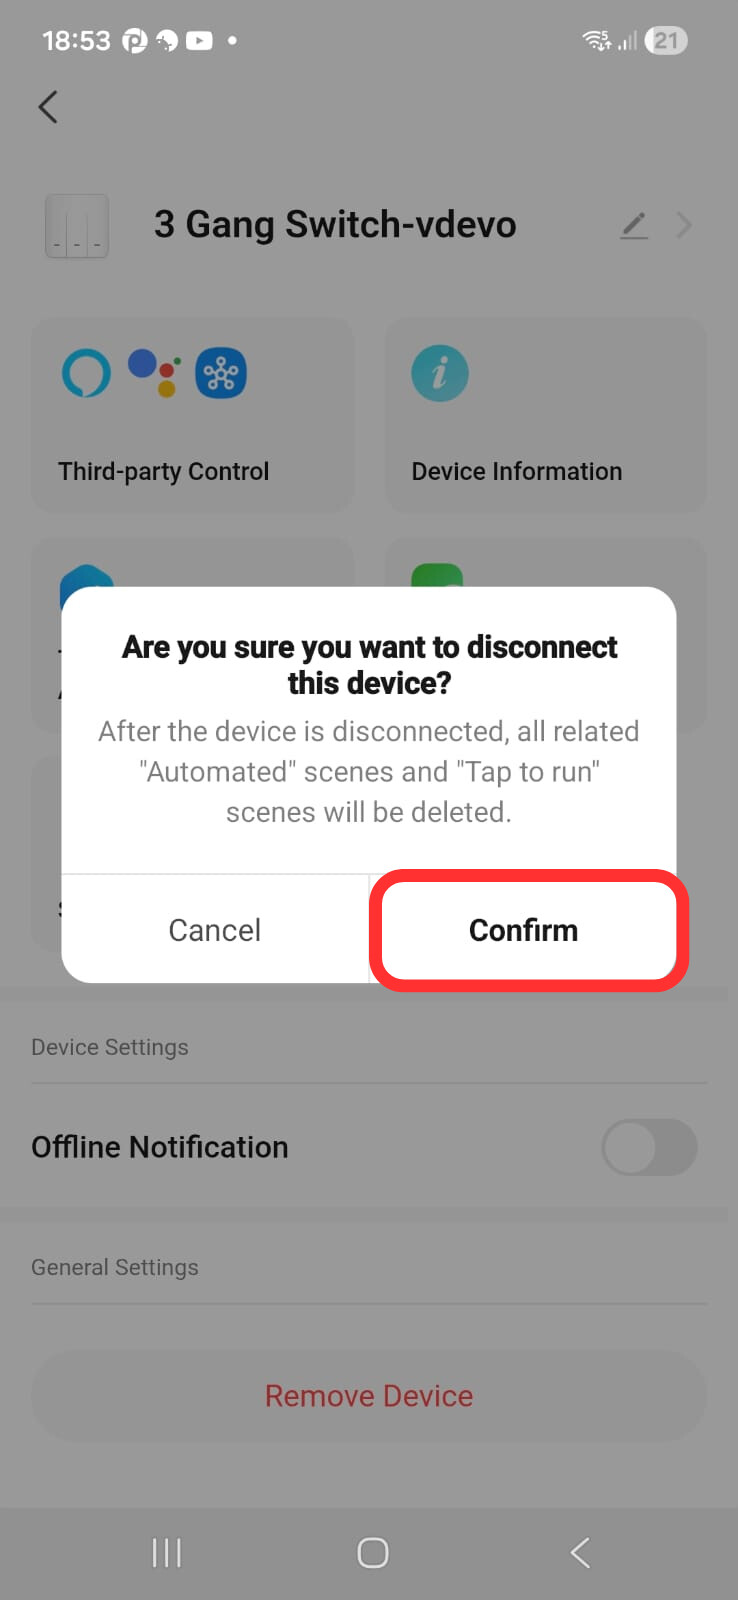
- Click on the pencil/three dots icon in the top right corner and click “Disconnect“. Afterwards, click “Disconnect device“. Do NOT click “Disconnect and wipe data“, as this will remove all your custom schedules, presets and other device settings that you’ve previously set.

Older style app
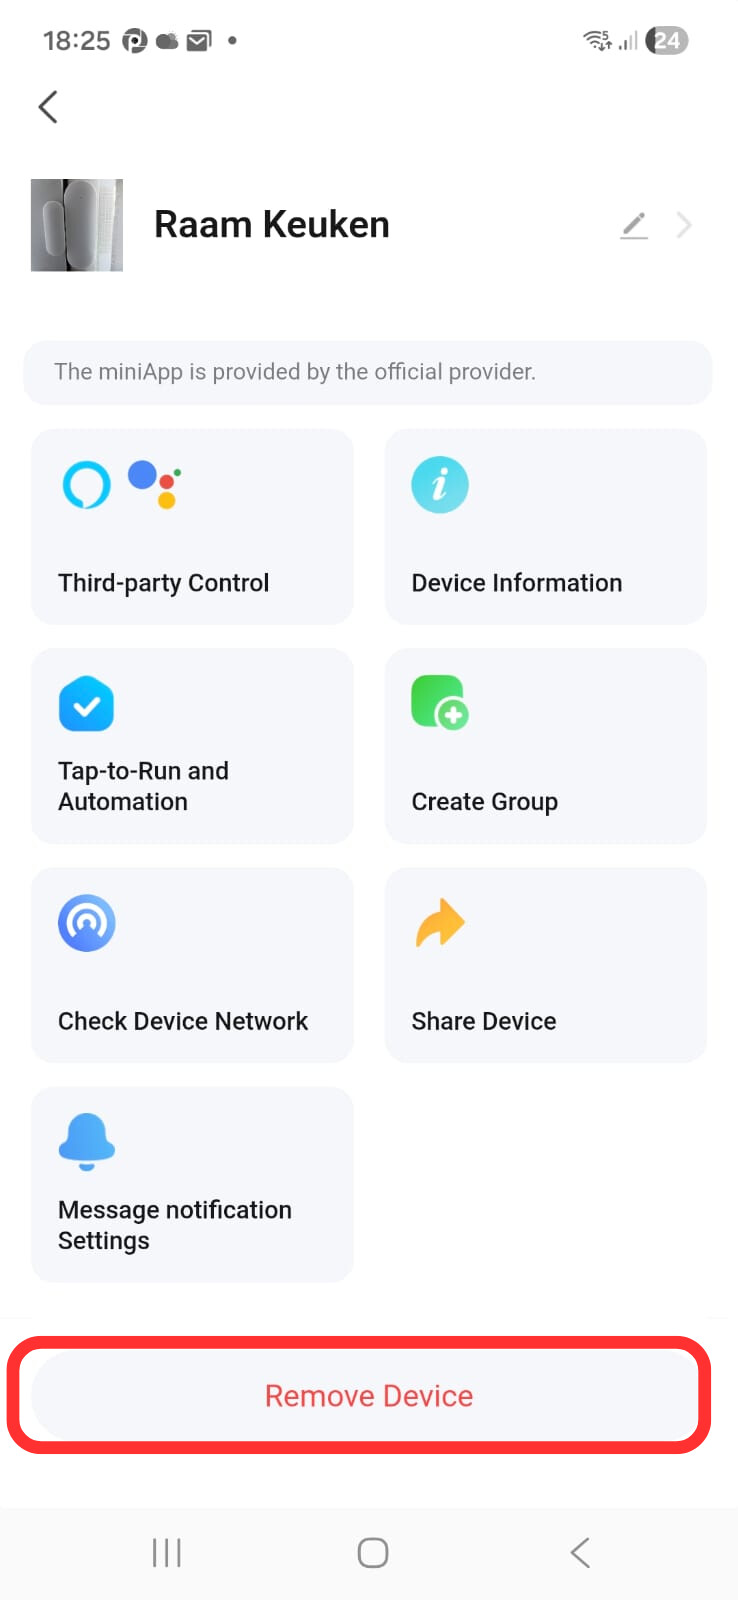
1. Open the app and click the device you want to remove.

- Click the pencil/three dots icon to access the device settings.

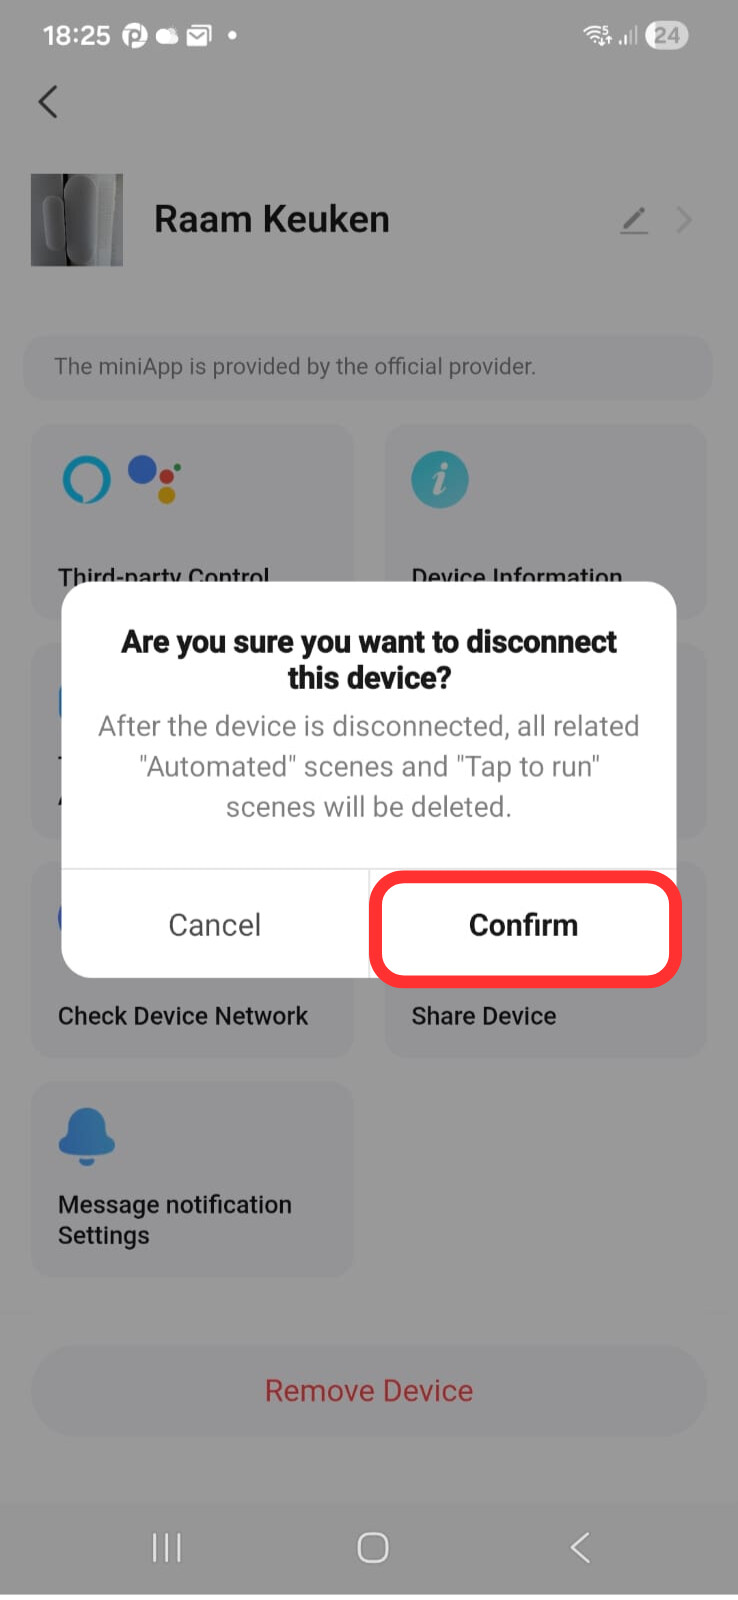
- Click “Disconnect“ and choose the regular Disconnect option. Do NOT click the “Wipe data“ option, as this will also remove your custom configs stored on the device.
You can repeat this process for all devices you want to unpair.
Option 3: Manual reset
This should only be used when a device is unreachable in the Tuya-based app. This is how you can manually reset. This only disconnects from WiFi, all your custom settings will be restored upon connecting to the other app.
There are multiple methods of resetting a device, here are the most common ones.
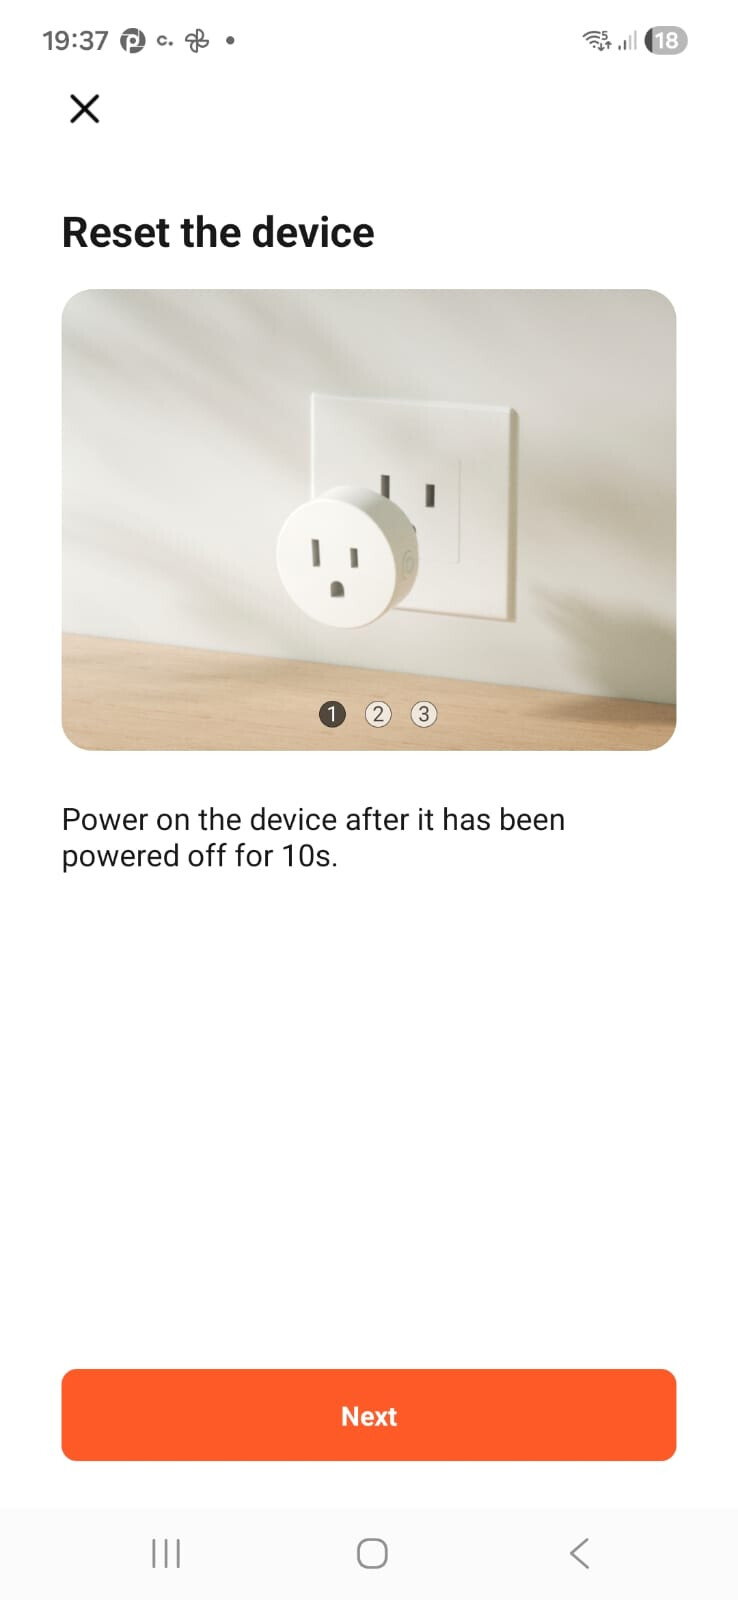
1.For most devices, you can press the reset button with a paperclip
2.For lights, you need to flip the switch 3 times (on-off-on-off-on)
3.For devices without a reset button (like most smart plugs), you usually need to hold the power button for 6 seconds
4. For smoke alarms, you might need to press the TEST button 3 times quickly
Adding devices to the other app
Now that your devices are in pairing mode, you can open the other Tuya-based app and add a device. Here are some instructions:
BT Setup (easiest)
This method only works with the newer TuyaMCU-based devices.
-
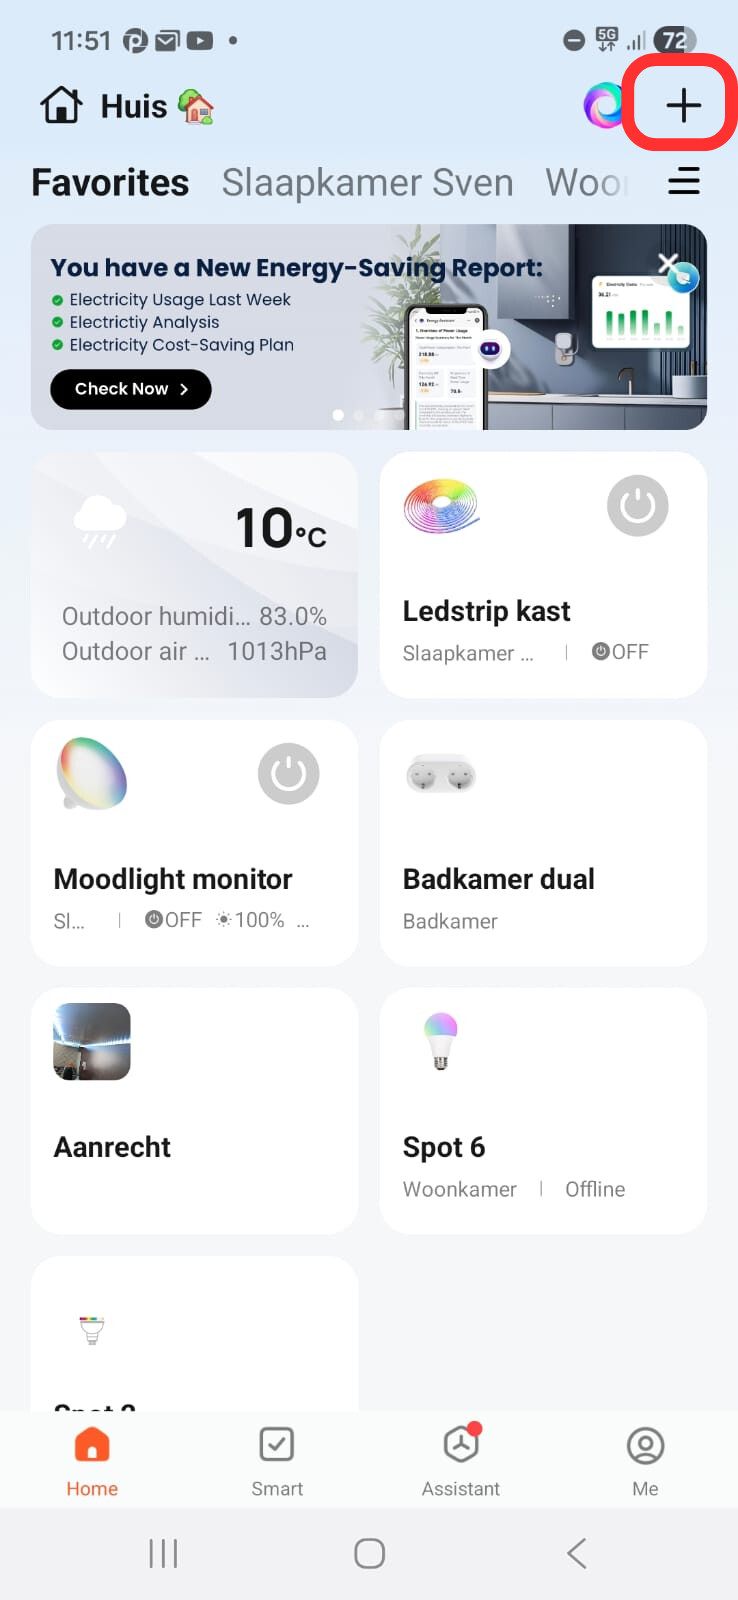
Click on the + symbol → Add device
-
The device will get discovered automatically (you may need to grant permissions and/or enable Bluetooth on your phone)
-
Select your WiFi network and enter the password. All detected devices will be shown in the list (you just have to click the Add button next to them) and they will automatically join the network and become part of the new Tuya-based app


WiFi setup (EZ Mode)
This method works for both the newer TuyaMCU-based devices and the older ESP-based devices
-
Click on the + symbol → Add device
-
Click any device that has “BLE+WiFi” or “WiFi”, it doesn’t really matter which type as it’s the same for all types (except for cameras, which also have a QR setup mode)
-
Click through the screens and click “Blinking fast” in the selector. If your device’s LED is blinking slowly, see the setup for AP mode below)
-
Your device will get added to the other Tuya-based app. Repeat this process for each device


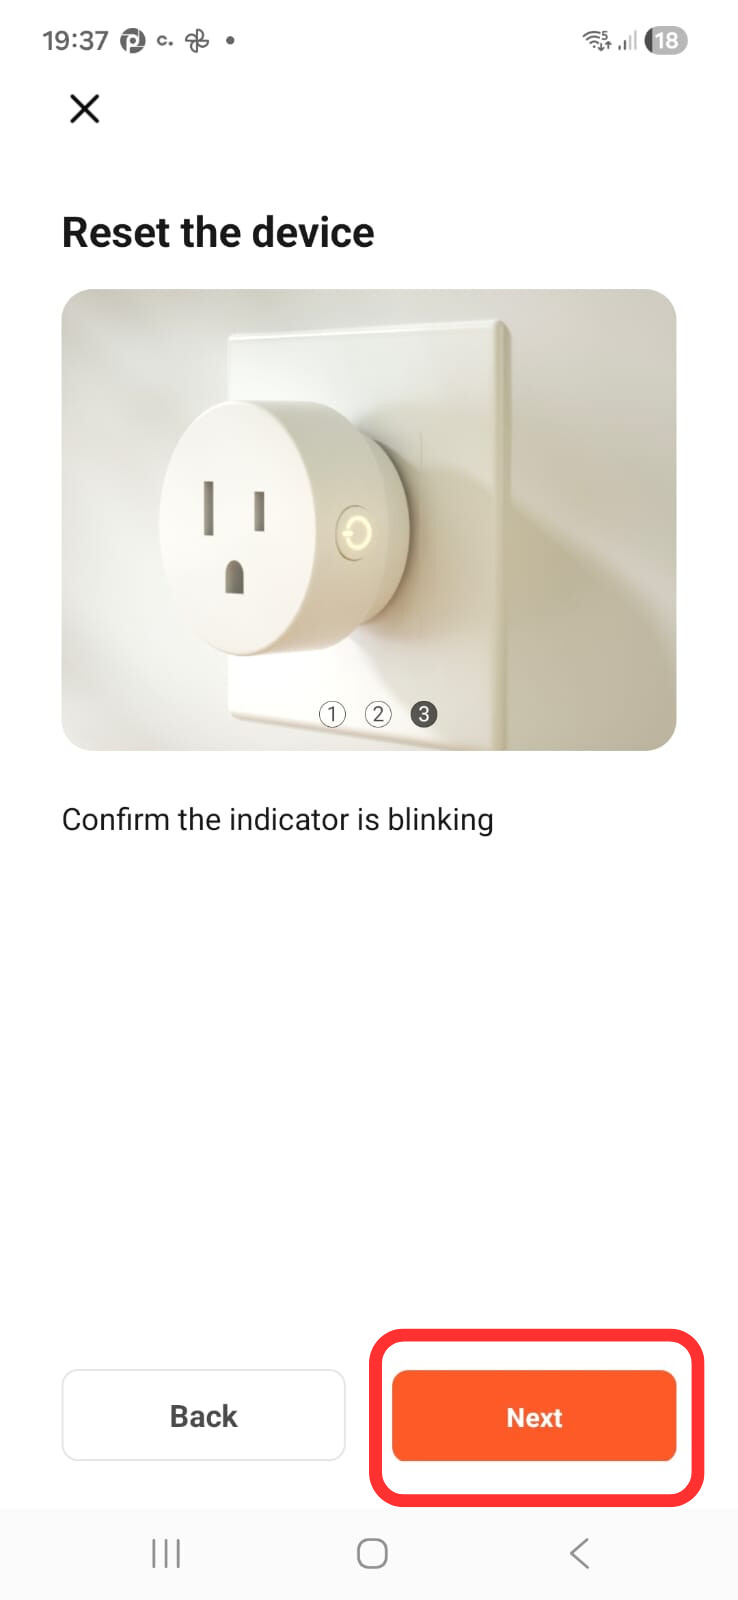


Note: the pairing times out within a few minutes, so make sure you complete your ESP-based devices setup quickly. If the LED has already stopped blinking, just start the Manual reset procedure for your device
AP mode
Sometimes, the EZ Mode setup doesn’t work (device doesn’t get detected). In this case, I recommend using the AP mode as this method often works when EZ Mode doesn’t.
To get your device in AP mode, you’ll need to follow the Manual reset procedure while the device is in pairing mode. This switches to AP mode. You can recognize AP mode because the LED blinks slower in AP compared to EZ mode
You can only set up one device at a time in AP mode.
To set up a device in AP mode:
-
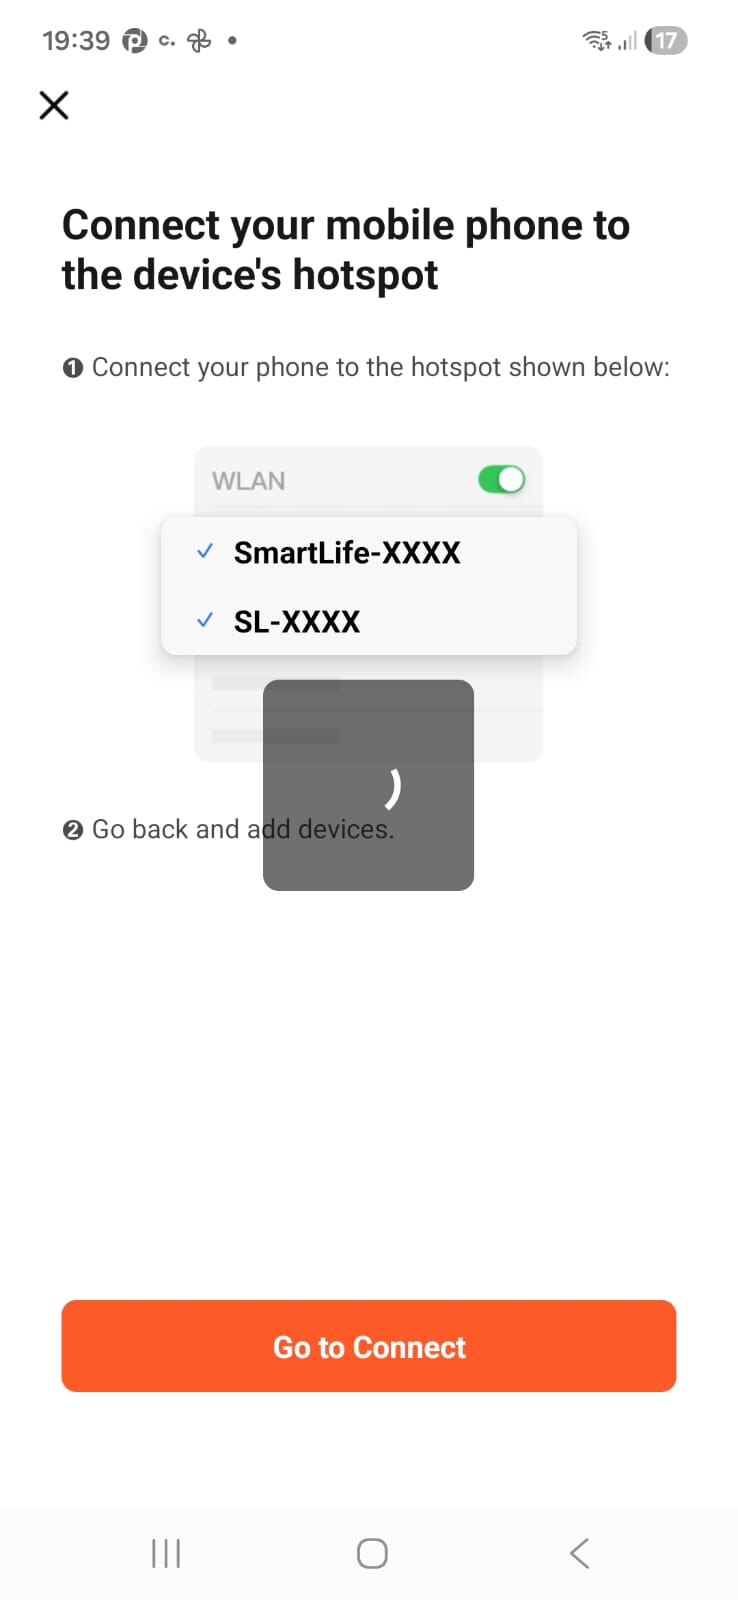
Click on the + symbol → Add device. Note: do NOT connect your phone to the SmartLife-XXXX AP just yet!)
-
Click any WiFi or WiFi+BLE device in the list, the type doesn’t matter here
-
Click through the pairing screens/videos
-
Click on “Blinking Slowly” when asked
-
Once you’ve entered your WiFi details, you can now connect to the SmartLife AP/network
-
Your device will be added to the Tuya-based app. Tuya automatically switches to your Home WiFi


You need to repeat this process for each device. The pairing does time out eventually, so try to get all devices added ASAP.
I hope that this tutorial helped you to migrate Tuya-based apps. If you have any questions or suggestions, please mention them in the replies.
