In this tutorial I would like to show you how to read out the data of a Hoymiles Microinverter with an OpenDTU and corresponding Homey apps via MQTT.
My equipment:
- Homey Pro (early 2023)
- Hoymiles Microinverter HM-1500
- Diamex DX-DTU-Klassik incl. OpenDTU software
Disclaimer
As I’m not an IT expert and I mainly learned about MQTT myself, it is quite possible that I didn’t take available safety features into account or didn’t take them into account correctly. Anyone who uses this tutorial acts at their own risk. I take no responsibility for any security problems. Experienced users can always make suggestions to improve security. I would check these and update the tutorial accordingly if the integration is still working.
Requirements
Summary
- Homey Pro
- Hoymiles Microinverter
- OpenDTU or AhoyDTU
- MQTT Broker (Test version v3.0.4)
- MQTT Client
- Device Capabilities (Test version v2.15.4)
- MQTT Explorer software/app for PC/Mac
Instead of the MQTT Broker and MQTT Client app, the MQTT Server app can also be used as an alternative.
Configuration
MQTT Broker
Summary
- Port number → 1883
- Also allow unsecure connections →

- Disable User Authentication →
- Disable Password Hashing →
- Create a user, e.g. Homey, with password
→ Save and start the broker

MQTT Client
Summary
- Enter IP Address or DNS → fill in Homeys IP address, e.g. 192.168.1.7
- Enter Port Number → 1883
- Disable Certificate Checking →
- Username for the Broker → fill in the username created in the MQTT Broker app, e.g. Homey
- Password for the Broker → fill in the user password created in the MQTT Broker app
- Use LWT →
→ Save

OpenDTU
Summary
- Open Settings → MQTT Settings
- Enable MQTT →
- Hostname → fill in Homeys IP address, e.g. 192.168.1.7
- Port → 1883
- Username → fill in the username created in the MQTT Broker app, e.g. Homey
- Password → fill in the user password created in the MQTT Broker app
- Publish Interval → 5 seconds
- Enable CleanSession flag →
- Enable Retain Flag →
→ Save

It should look like this:

MQTT Explorer
Summary
- Add new connection
- Name → you can choose a name for the connection. This name isn’t relevant for the general configuration.
- Validate certificate →
- Protocol → mqtt://
- Host → fill in Homeys IP address, e.g. 192.168.1.7
- Port → 1883
- Username → fill in the username created in the MQTT Broker app, e.g. Homey
- Password → fill in the user password created in the MQTT Broker app
→ Save
It should look like this:

Advanced Virtual Device
Summary
Now you should begin to think about what data you need from the Microinverter to visualize them in Homey, because the next step is to create a corresponding an Advanced Virtual Device.
Information on how an AVD is generally created can be found in the topic [APP][Pro] Advanced Virtual Device (Device Capabilities App) with Unique Text Status Indicator. Therefore, I will only mention a few important points here. If you still have problems with the creation, you can of course ask for help.
General settings
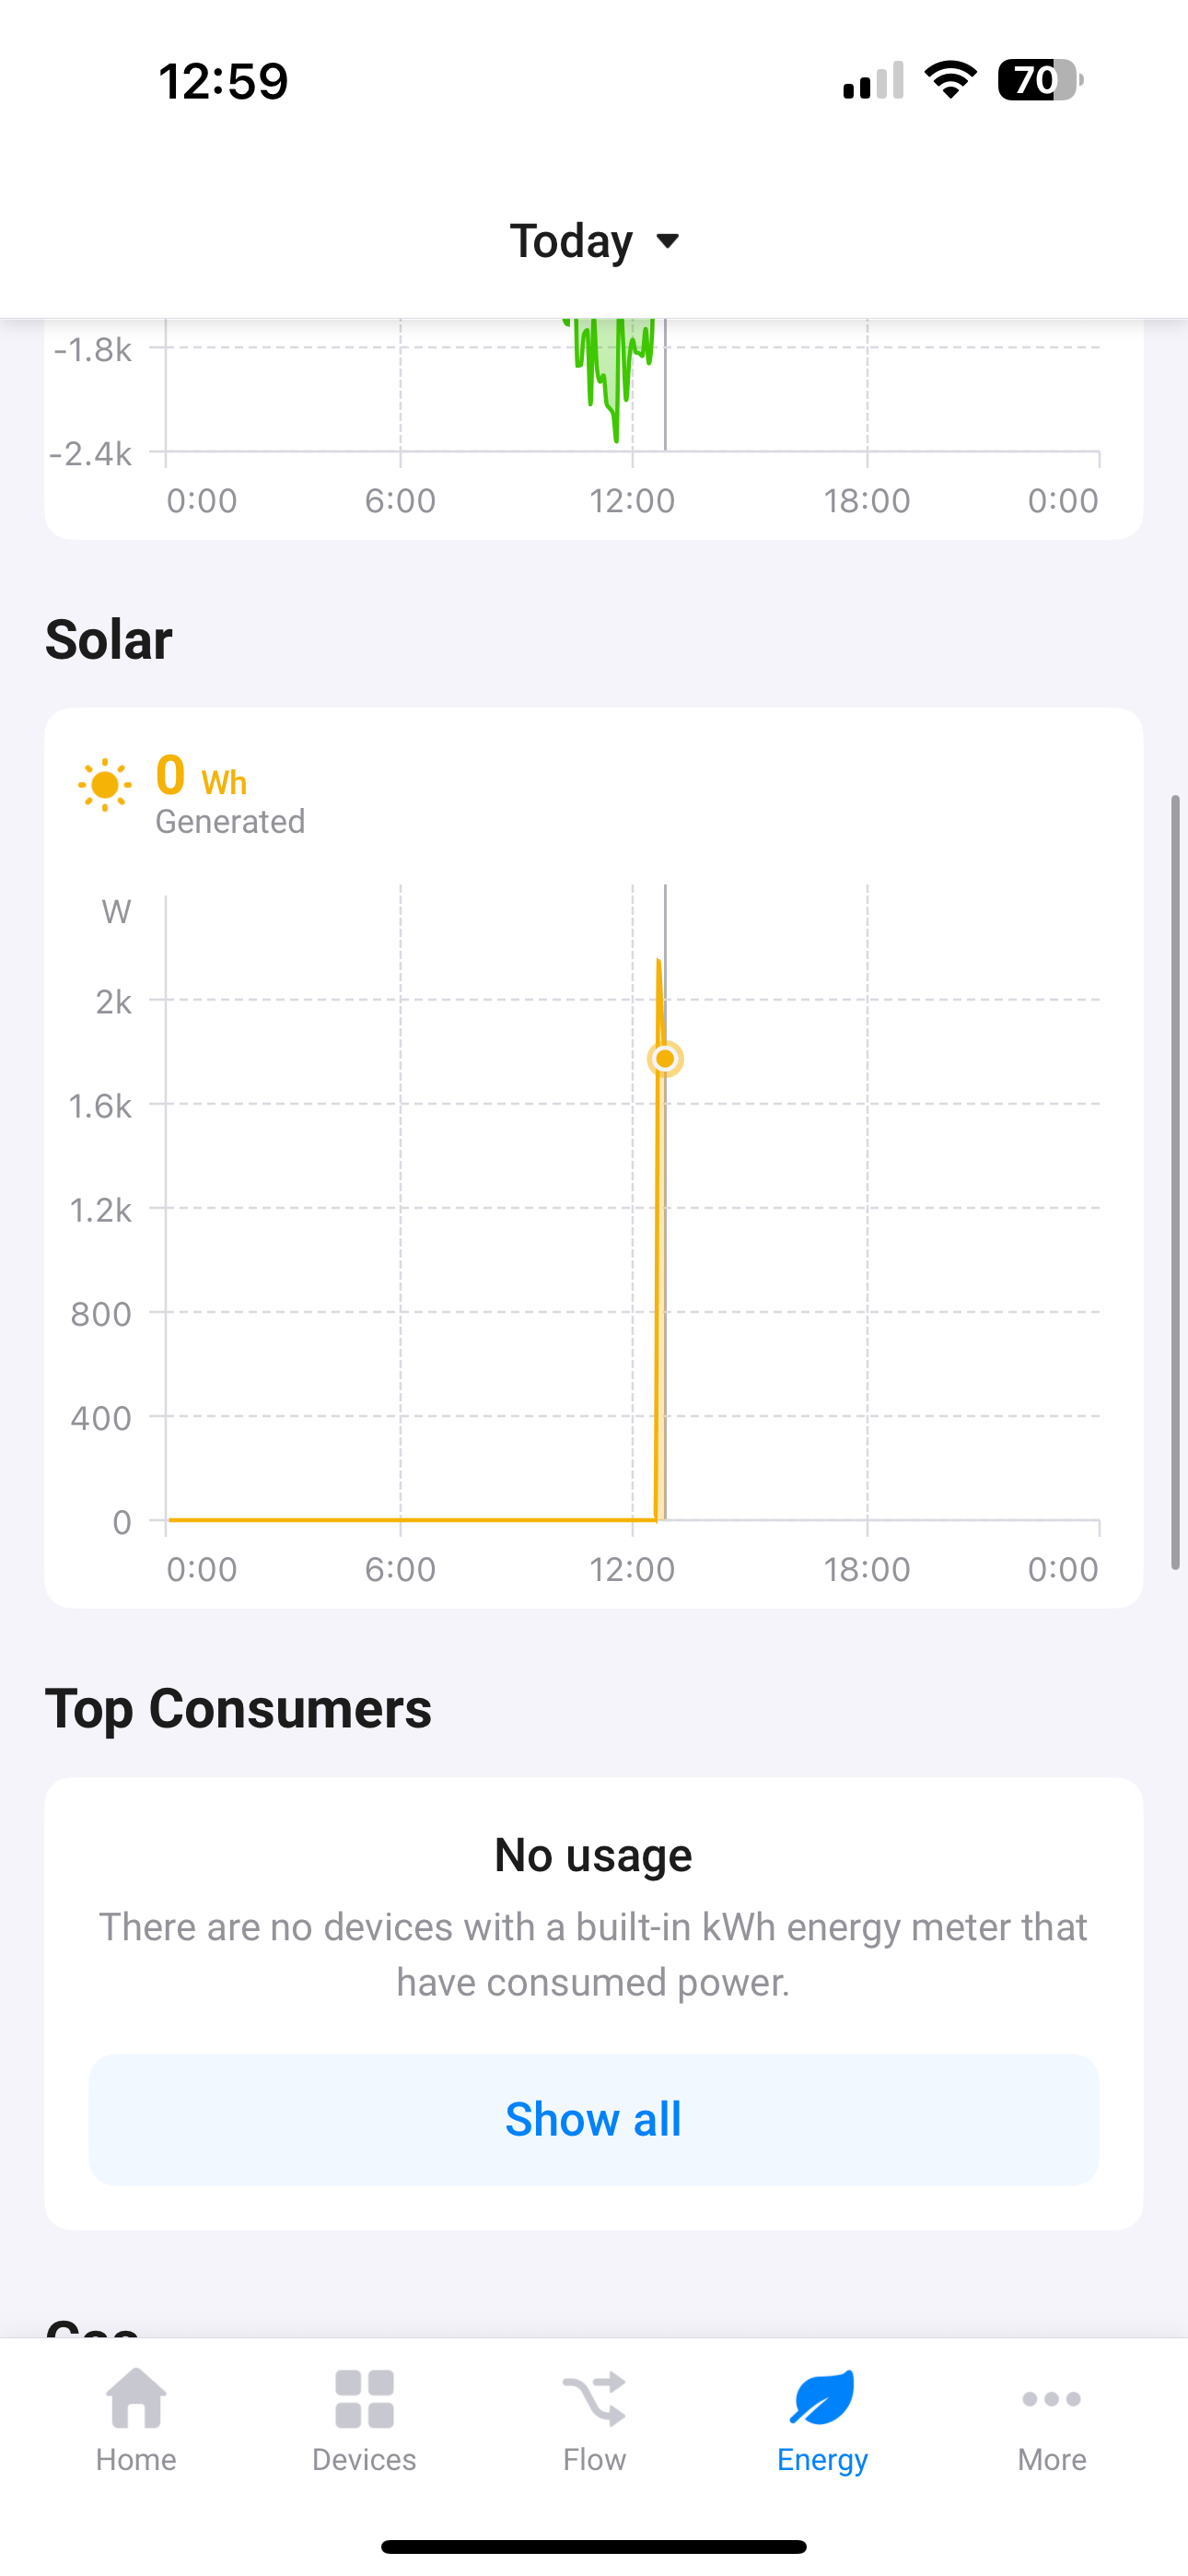
- Device Class → Solar
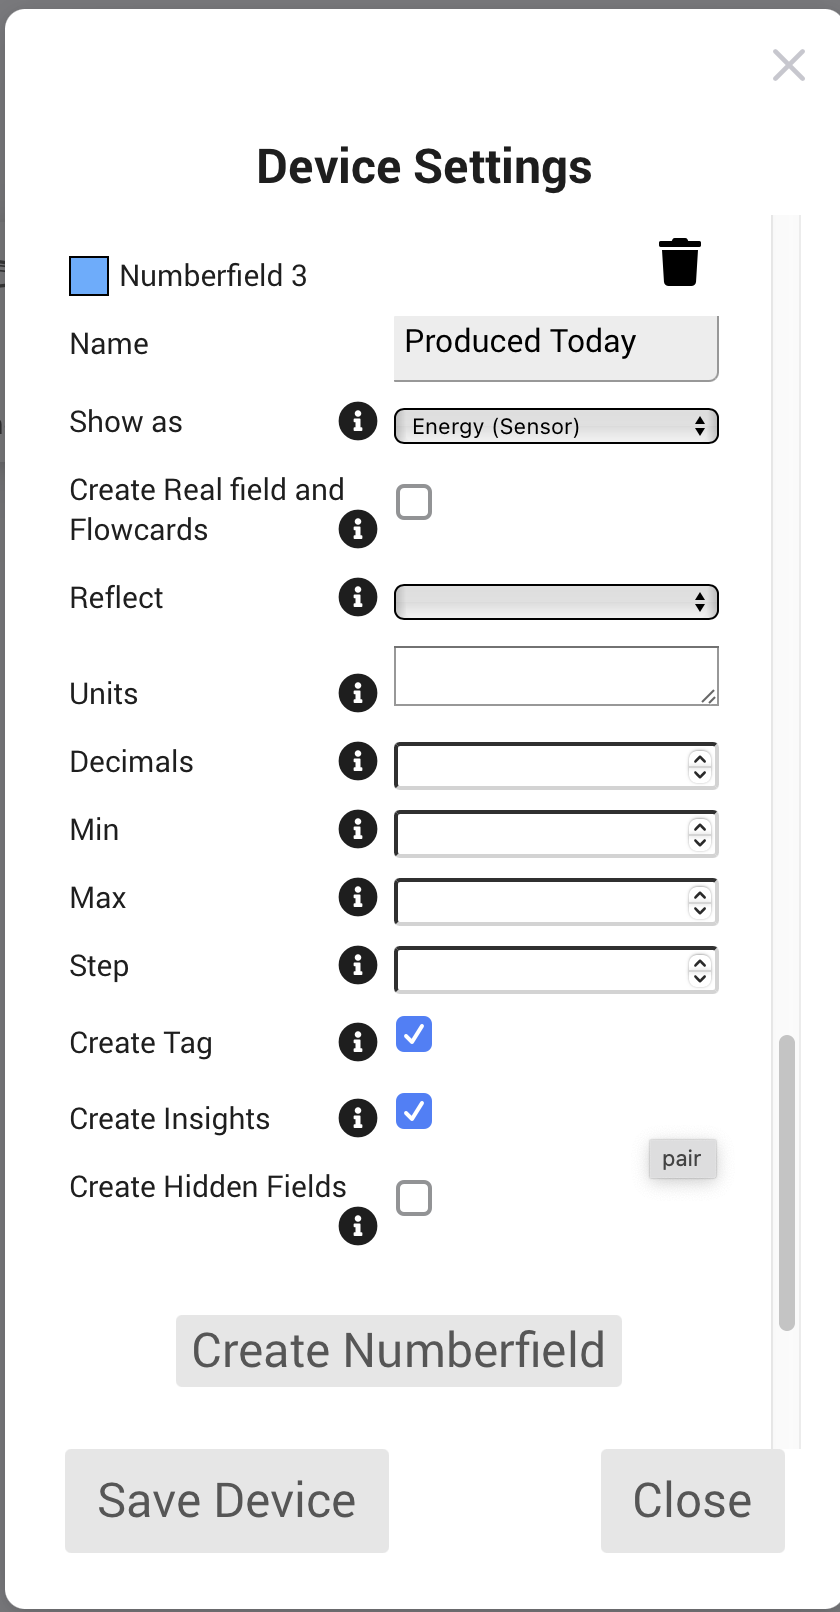
Number Fields for Power values (W)
- Show as → Power (Sensor)
- Create a real field and flow cards →
- Unit → W
Number Fields for Produced Energy Yield (W)
- Show as → Energy (Sensor)
- Create a real field and flow cards →
- Unit → Wh / kWh (depending on which data are provided)
Number Fields for…
Optional
(Recommend if you want to create flows with flow cards and tags)
- Create tag →
- Create Insights →
It should look like this:

(just a small part of the whole AVD)
Advanced device settings
- Exclude from Energy → No
Flow
Summary
In order to transfer the values from the Microinverter resp. from the OpenDTU into the AVD, a flow must be created. This is possible with both the standard and the advanced flows, but I will only show it using an Advanced Flow.
As trigger flow card (When…) the following flow card of the MQTT Client App is needed:

As action flow card (Then…) the following flow card of the previously created AVD device (Capabilities App) is needed:

Use this scheme to create as many flows as you have created number fields in the AVD. In the AVD flow card select a predefined number field for each flow and set the second drop down selection to nothing else.
It should look like this:

Now we have to find out which “message”, the so-called topic, has to be filled into the MQTT Client Flow card. To do this, we open the MQTT Explorer on the PC/Mac and connect to Homeys MQTT Broker:

If the Homey MQTT Broker and the MQTT Explorer have been set up correctly, a new window will appear which looks like this:

If you haven’t connected any other devices via MQTT yet and haven’t changed anything in the MQTT setup in the OpenDTU, you should see below the Homey IP address and an entry named solar:

If the entry has a different name, please check in the menu Info → MQTT or the MQTT settings (pls. see screenshot in the OpenDTU section above) of the OpenDTU what the Base Topic is called.
Now search for the data you want to integrate. To do this, click on the arrow ![]() in front of the name of the Basic Topic to open further submenus.
in front of the name of the Basic Topic to open further submenus.
What is important to me is how much power and energy the Microinverter feeds into the house power grid. That’s why I want to import the data from the ac submenu to Homey:

To find out the full name of the topic, e.g. “Power”, simply click on “Power” and the complete topic will appear in the top right-hand corner. Then just click on “Copy to clipboard” and insert the topic into the correct flow card:


After the topic has been filled in, you have to select the corresponding Tag ![]() in the AVD flow card:
in the AVD flow card:

(Make sure that both Flow cards are already connected first!)
Repeat the same steps for the next flow cards.
As already pointed out in one of the screenshots, my inverter/OpenDTU provides YieldDay in Wh. If you want, you can use an additional logic flow card to convert this value into kWh automatically.
Final Result


History of the Tutorial
Summary
| Date | Revision |
|---|---|
| 2025-01-30 | Screenshots added, Renamed user to match with the screenshots |
| 2025-05-23 | AVD: Option “Create a real field and flow cards” changed from optional to mandatory |