For what it’s worth: both Homey’s i opened started reluctant, but after the first pop the top dome was easily separated from the ring because it gave way by the torsion.
With the first one i broke one plastic screw (that was easily glued together again). With the second one the ring gave up before the screw, but that was also easily repaired with some glue for plastic models.
Before you try to open it two warnings:
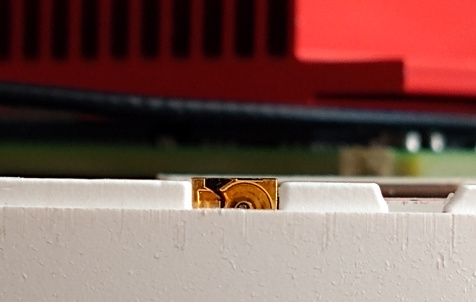
- be very careful not to break off one of the IR led’s while trying to separate the dome. They are positioned behind the open spaces and are sometimes a bit higher than the rim of the bottom half. So you can easily break one off if you try to separate and twist just above one.
- If you remove the top half, be careful not to pull it apart with too much force. You could damage the wires from the zigbee and wifi antenna which are glued to the top half.
The best way to get it loose is to squeeze the ball a little to see if a part is wider then the rest, squeeze in a dinner knife, shove it a bit to the tighter part (which should be near to one of the 4 screws but again, mind the IR led’s!) and twist a little. It is inevitable that you will do some damage to the housing, so preferably you should try it at the back.
A tip: Make a picture before you take out the print. You have to put it back exactly the same position else the IR led’s won’t line up properly with the openings.
If you want to get the print out, first free the lint cable (gently flip up the brown clamp) and push the cable completely through the oval hole. Then use a knife or a wide flat screwdriver in the same opening to gently lever the print up. Don’t apply too much force or it will break. Don’t need to mind cables, the lint cable is the only connection.